

You're standing in the garage with a jump starter that's been plugged in all night, and the little charging light still hasn't changed. Maybe it worked last month. Maybe it cranked the car once, then went right back to acting dead. That symptom usually sends people straight to the outlet, but the actual problem is often deeper, and sometimes it's the battery pack inside the unit, not the charger on the wall.
A portable jump starter not charging is one of those problems that looks simple until you start tracing it. The fault usually lives in one of three places, the wall circuit and cable, the internal battery, or the environment the unit was stored in. The safest way to approach it is to start with easy checks, then move toward battery diagnosis, and stop immediately if the pack looks swollen, cracked, or smells wrong.
Table of Contents
- When Your Portable Jump Starter Refuses to Charge
- What Usually Stops a Jump Starter From Charging
- Start With the Easy Checks Before Anything Else
- Reading the Battery Pack With a Multimeter
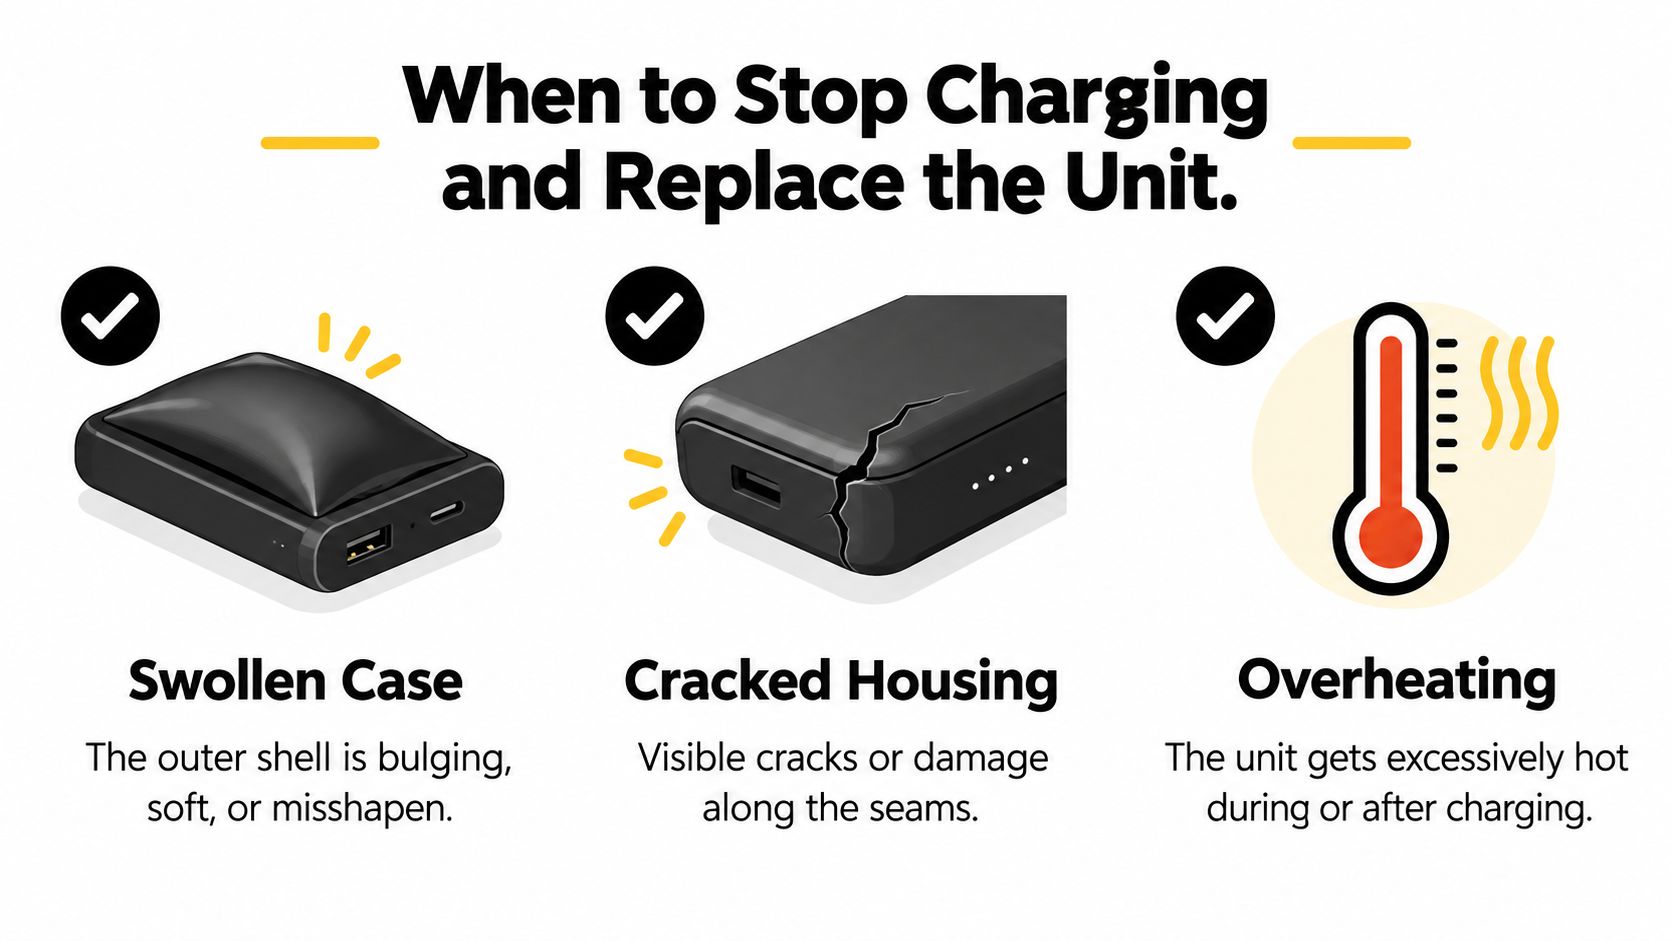
- When to Stop Charging and Replace the Unit
- Simple Habits That Prevent the Next Charging Failure
When Your Portable Jump Starter Refuses to Charge
The first clue is usually visual. A jump starter that flickers, stays dim, never lights up, or takes forever to show progress is telling you something before it fully dies. If the adapter gets warm fast, or the unit charges just enough to crank once and then won't top back up, that's not a random glitch, it's a sign the charging path or the pack itself is struggling.
Treat it like triage, not a guessing game
Start with the simplest split. If the wall outlet, adapter, and cable are healthy, you can focus on the battery pack and its protection board. If the pack has been left discharged for months, especially in a garage or trunk, the chemistry may be the problem, not the wall plug.
That matters because portable jump starters don't fail in one neat way. Lead-acid packs wear out with repeated cycling, and a major 2024 review notes that these batteries are typically replaced every 3 to 6 years, or about 150 to 200 cycles for a 100 Ah battery cycled at 100% depth of discharge (Frontiers in Batteries and Electrochemistry). Lead-acid systems also suffer from sulfation when they sit partially charged or discharged too long, which is why a jump starter can look like it won't charge when the pack is degraded.
Practical rule: if the case is puffed, cracked, or the unit smells sweet or solvent-like, stop charging it right away.
Don't leave it on the charger overnight and hope for the best. That's how a bad battery turns into a safety problem.
What Usually Stops a Jump Starter From Charging
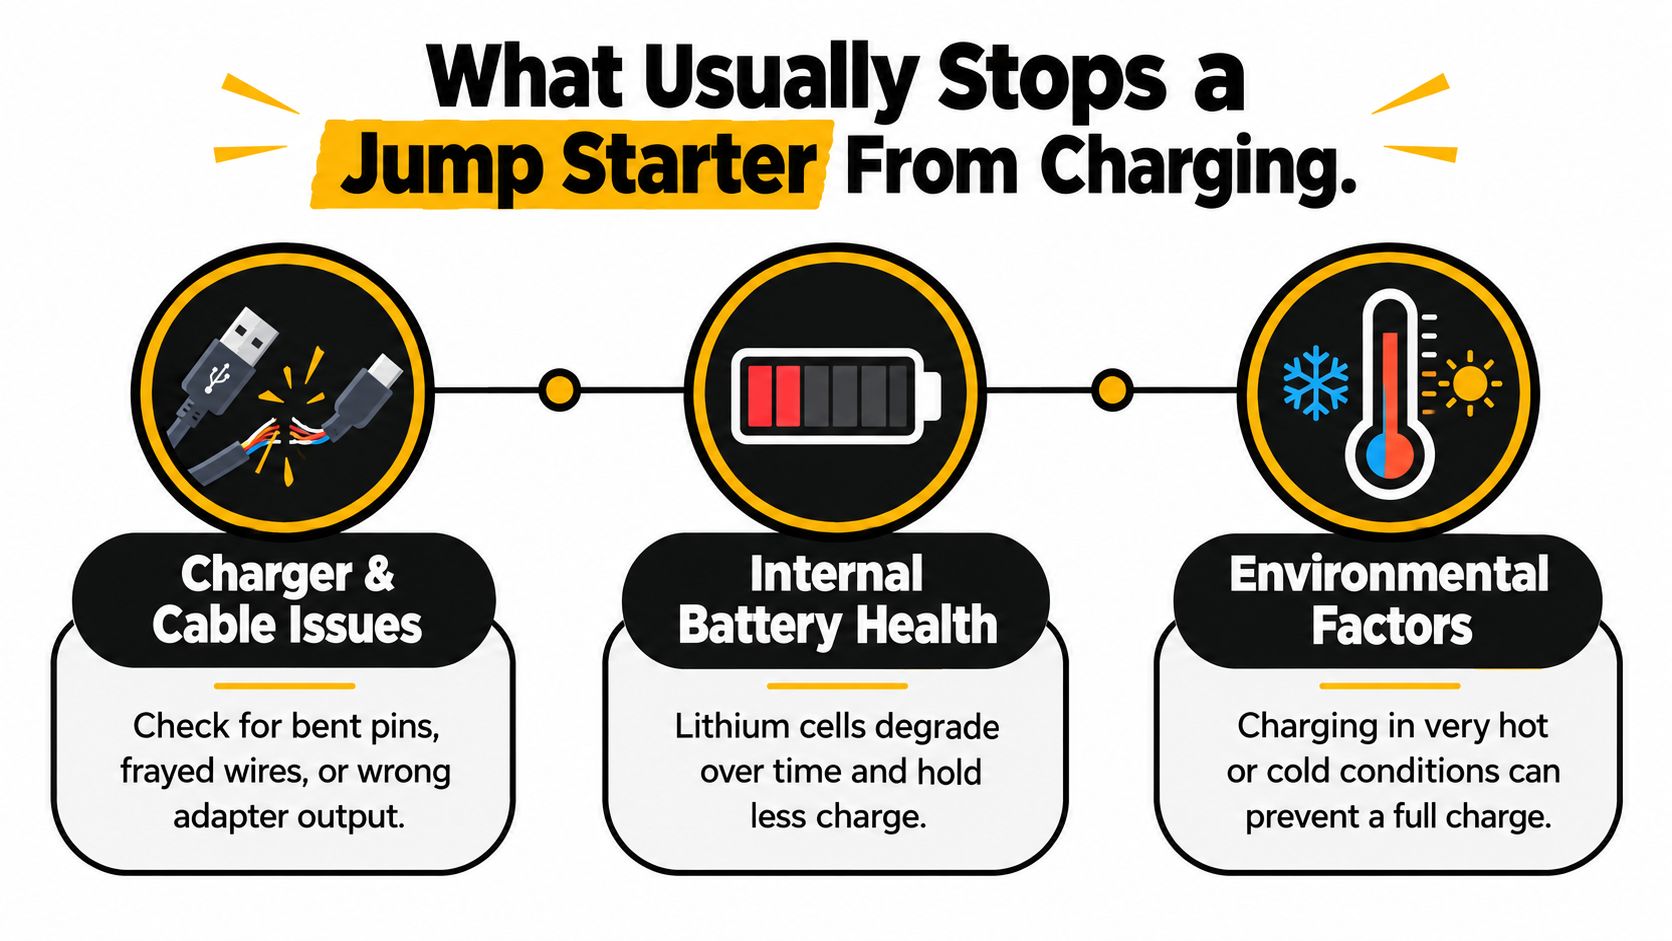
A jump starter that will not charge usually fails in one of three places. The charger path can be dead or unstable. The pack itself can be worn out enough to reject a normal charge. Storage conditions can push a marginal unit past the point where it behaves normally.
Charger and cable faults
Start with the simple stuff. A dead outlet, a loose USB-C or barrel connector, a frayed cable, or an adapter that cannot hold steady power can stop the charge cycle before it begins. That usually shows up as no lights, a brief blink, or a reset as soon as the plug seats. These are the easiest failures to fix because they sit outside the jump starter.
Internal battery health
The chemistry inside the pack sets the limit. Lead-acid batteries lose capacity when they sit discharged, and that wear often shows up as sulfation. Open Source Ecology lead-acid battery guidance notes that sulfation is a major failure mode in lead-acid systems, and it also describes permanent capacity loss when the battery is left in poor charge state for too long. That matters because a unit that sat in a garage or trunk for months may charge poorly even if the adapter is fine. At that point, a top-up is not always enough, and the pack may be past practical recovery.
Environment
Cold garages, hot trunks, and humidity all change how a charger behaves. Cold can slow the charge or trigger protection logic. Moisture can corrode the port and make a good cable act bad. If the same unit only fails in one storage spot, the environment is part of the diagnosis.
Once the pack is clearly damaged, the choice shifts from charging to safety. A swollen case, cracked housing, or sweet solvent-like smell means the unit should come out of service. The warning signs in An infographic showing three warning signs that a portable charger or jump starter should be replaced immediately. are the point where saving the pack stops being worth the risk.
Start With the Easy Checks Before Anything Else
Before you open a case or declare the pack dead, walk the charging path in order. Check the outlet first, then the adapter, then the cable, then the port. That sequence sounds basic because it works.
Do the pass-fail checks in order
Plug a phone or lamp into the wall outlet to prove the circuit has power. Then test the adapter on a known-good device, because a brick can fail even when the outlet is fine. If the outlet and adapter pass, inspect the cable for bent pins, kinks, or corrosion at the tip, and try a known-good spare if you have one.
The moment you seat the plug, watch the indicator lights closely. Some jump starters pause for a short time before they start showing charge, while a blinking error pattern often means the internal protection circuit is blocking the charge. Clean the charging port and contacts with a dry cotton swab, then try again with a firm connection.
Useful habit: write down each step as pass or fail. It keeps you from circling back and second-guessing what already proved fine.
If the unit still won't respond after the basics, the charging accessories are less likely to be the issue. At that point, a manual closer to the one that comes with a smart charger can help you compare how a healthy charging cycle should behave, and a straightforward reference like this 12V automatic smart battery charger guide is useful for understanding normal maintainer-style charging logic.
Reading the Battery Pack With a Multimeter
A multimeter turns guesswork into a real diagnosis. Set it to DC voltage, put the red probe on the positive terminal and the black probe on the negative terminal, then read the pack with the charger unplugged. That first reading tells you whether the battery is low or whether it is failing in a way the charger cannot fix.
What the number means
A healthy lead-acid battery should rest at 12.7 volts or higher. A reading below 12.4 volts means it needs charging, and 12.0 volts or less points to a pack that may already be damaged. Lead-acid chemistry does not forgive long storage at a low state of charge.
Lithium jump starters are different, but the same idea applies. If the pack reads well below its normal resting range, treat that as a warning. If the voltage rises only a little when you connect the charger, the battery management system may be holding the pack off. If the number hardly moves at all, the pack is not accepting charge in a useful way.
| Multimeter Voltage Readings and What They Mean | ||
|---|---|---|
| Voltage Reading | Condition | Recommended Action |
| Near rated value, stable | Pack is likely healthy or mostly charged | Continue charging and retest |
| Significantly below rated value | Deeply discharged, possibly recoverable | Use the correct charger and give it time |
| Barely changes while charging | BMS lockout or failed pack | Stop and inspect for replacement |
| Drifts downward over a few minutes | Internal failure or shorted cell cluster | Discontinue charging |
| Zero or near-zero reading | Severe failure | Replace the unit |
If you want a second opinion on the numbers, a digital 12V battery tester can help cross-check what the multimeter shows. The point is not to chase every reading. It is to separate a pack that still has a chance from one that should be pulled from service.
When to Stop Charging and Replace the Unit
Some units aren't worth another hour on the charger. If the case is puffed, soft, cracked along the seams, or warm in a way that feels wrong, stop. If you notice a sweet, solvent, or burnt smell, don't keep testing it like it's a harmless inconvenience.
A jump starter that sits below 8 volts and still won't climb after 24 hours on the correct charger has crossed from “maybe recoverable” into “probably done.” That's especially true if the battery management system keeps tripping and resetting. At that point, more charging usually just makes the failure mode louder.
Lead-acid packs can be deceptive here. Because sulfation hardens the plates when they've been left discharged too long, the unit may never accept a real charge again, even though a charger light still flickers. Lithium units can fail differently, with a shorted cell making the pack look normal until the cable comes off, then the voltage falls away.
That's why safety reporting matters here. A UK recall notice for a jump starter told consumers to stop using the product immediately and store it outside, which is the right mindset when a battery defect is plausible (UK product recall notice). Some problems are repairable, but a bad battery pack isn't one of them.
Recycle the old unit through a certified e-waste or battery drop-off, not the household trash. If you're unsure, treat the battery like a suspect part, not a stubborn accessory.
Simple Habits That Prevent the Next Charging Failure
The best fix for a portable jump starter not charging is not letting it sit ignored until the pack sags. Recharge it on a schedule, even if you never used it. A unit that lives on a shelf for months is far more likely to wake up locked out or severely depleted.
Storage habits that keep the pack alive
Keep the jump starter indoors, dry, and away from extreme temperatures. Cold garages and hot trunks both punish battery chemistry, and they're especially hard on packs that already have some age on them. For long-term storage, keep the state of charge around the middle rather than full or empty.
Use the charger and cable that came with the unit unless the manual specifically says otherwise. The technical manuals for lithium jump starters that call for a 2A USB charger or 2A USB port are doing that because charging speed and recovery depend on the right input current, and some units need 6 hours or more to recharge fully, with discharged units taking up to 48 hours before they should be called failed (manufacturer manual guidance). That's a good reason not to unplug too early.
For vehicles that sit all winter, pairing the jump starter with a low-amp maintainer keeps the vehicle battery from drifting into the same dead state. If you want to browse related battery-maintenance tools and automotive basics, the car hacks collection is a useful place to start.
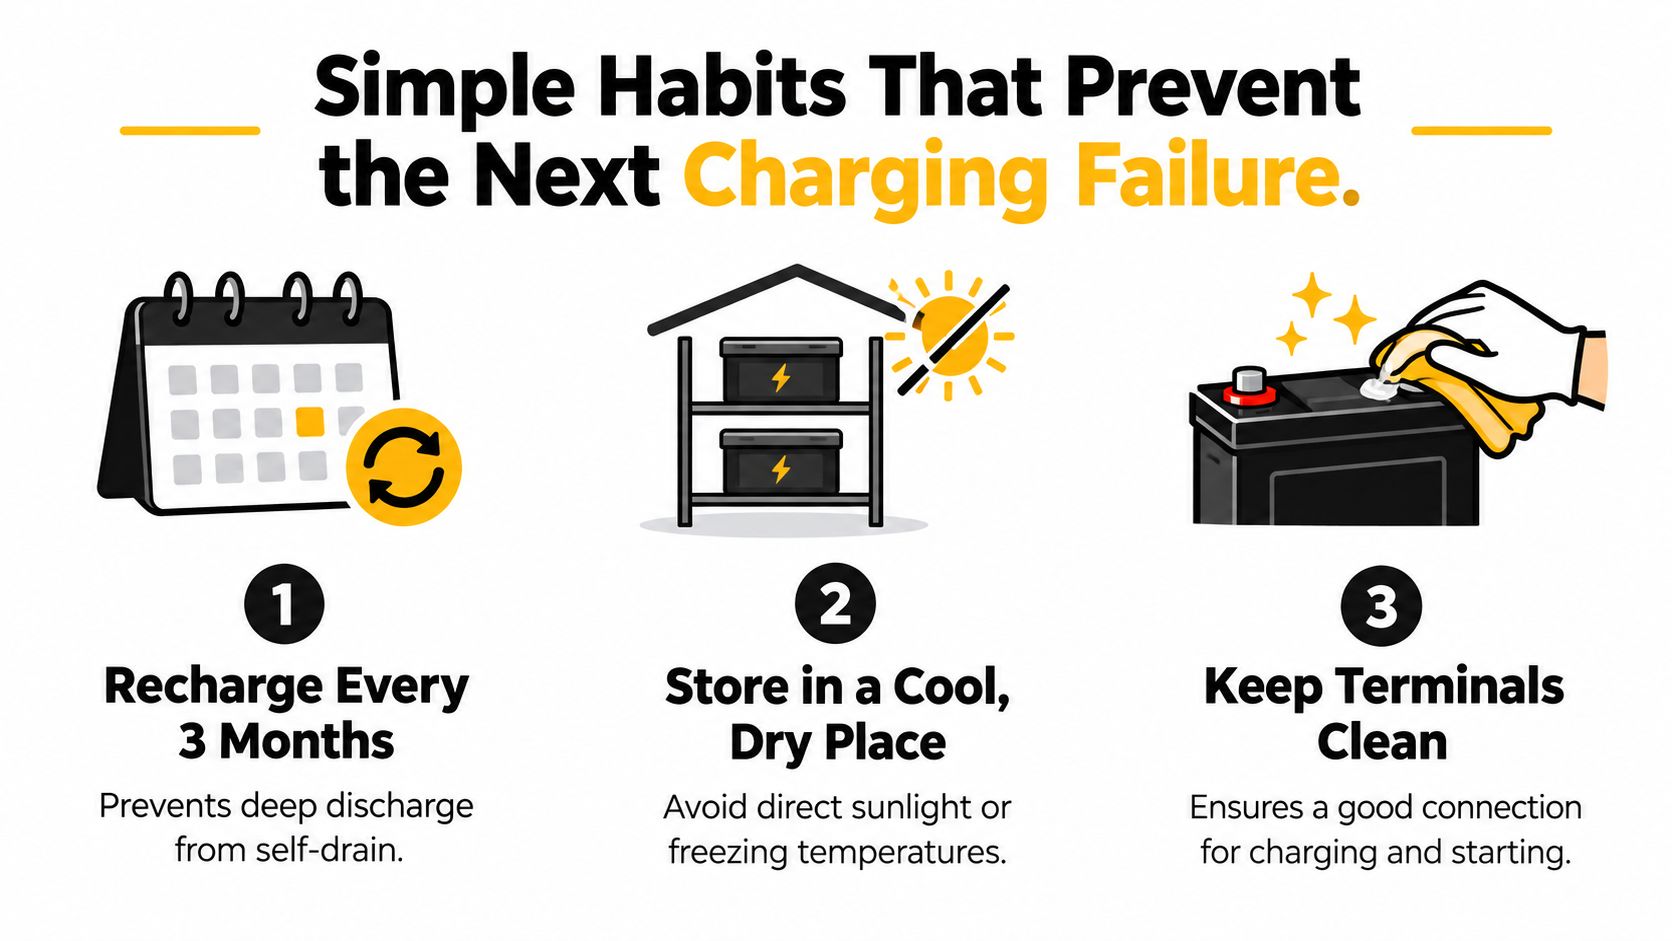
Recharge it before you need it, store it where the temperature stays mild, and keep the contacts clean. Those three habits solve a lot of “dead” jump starters that were never really dead at all.
If your jump starter still won't charge after the basic checks, the right move is to stop forcing it and replace the failing part or the whole unit. TrentonChoice carries practical automotive accessories and battery-support gear that fit the same real-world problems covered here, from emergency starting to battery upkeep. Visit TrentonChoice when you want straightforward tools that make garage diagnosis and roadside readiness a lot less stressful.
Built with the Outrank app